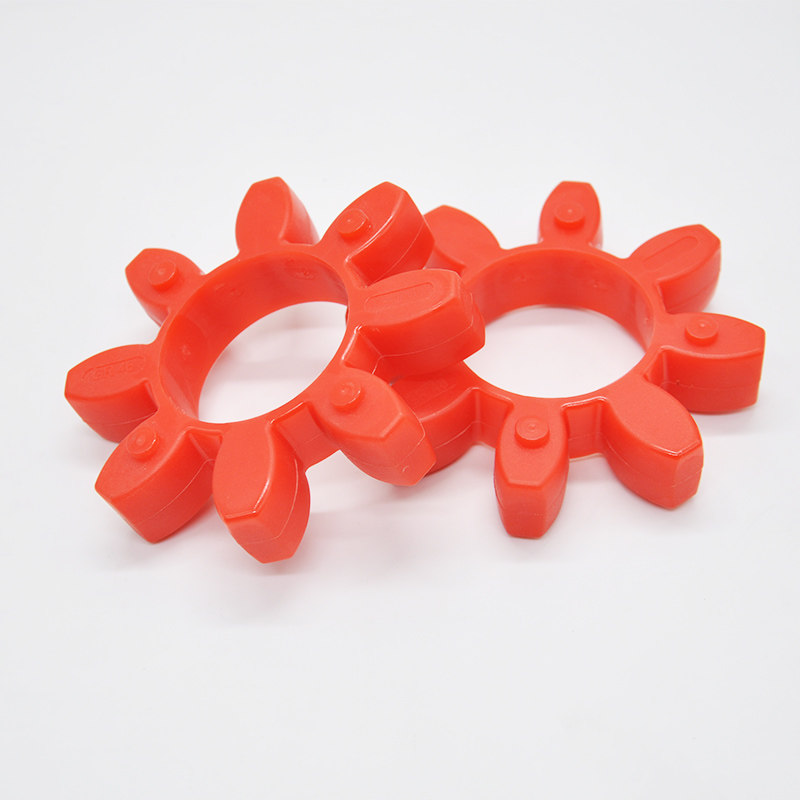
A worn jaw-coupling spider is a replaceable element, but matching its outside diameter is not enough to establish fit. Identify the installed hubs and the complete insert series before selecting a replacement. An insert listing does not include a complete coupling assembly.
1. Identify the installed assembly
Record markings on both hubs and the old insert. Photograph the coupling before removal and note how the insert sits between the jaws. Keep shaft-bore information with the assembly record even if the hubs are not being replaced.
If markings are missing, provide dimensioned photographs and request confirmation. Do not use color alone as a reliable series or material identifier.
2. Separate GS, GR and XL selections
The linked insert catalogue distinguishes GS solid, GR hollow and XL series. Similar outside diameters across these groups do not establish compatible jaw profiles or thicknesses.
Check the full model, overall thickness, inner geometry and mating hub form. A supplier-approved drawing is more useful than a single diameter measured on a damaged old element.
3. Confirm material and duty
Request the required material grade and hardness where these affect the application. Provide speed, load changes, temperature and exposure to oils or cleaning agents. Do not transfer a performance rating from another manufacturer's same-colored insert.
Replacing an element with a harder-looking alternative can change assembly behavior. Review the intended duty rather than treating every polyurethane spider as an interchangeable spare.
4. Investigate why the old element failed
Look for abnormal wear, cracking, missing material and uneven contact, using the equipment's inspection procedure. Consider alignment, installation spacing, fastening and unexpected load changes alongside normal service wear.
Keep observations before discarding the insert. Replacing the consumable without correcting a recurring assembly fault can lead to repeated downtime.
5. Reassemble with the correct instructions
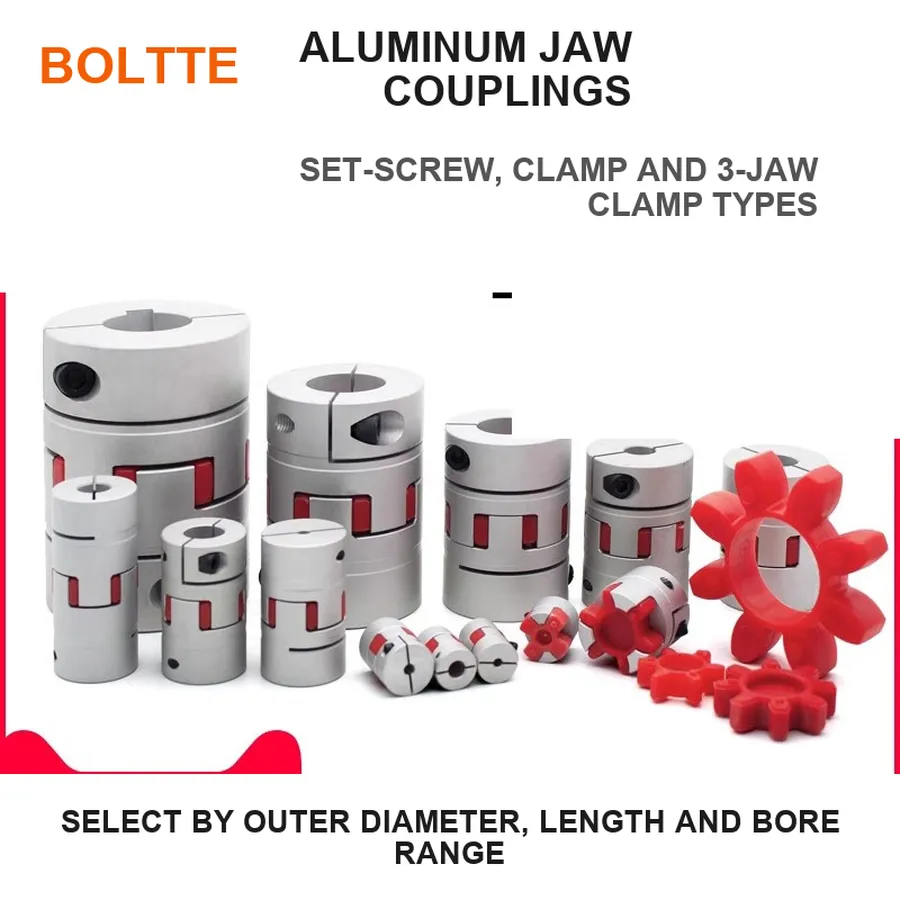
Isolate the drive, follow the exact coupling instructions and check the specified hub spacing and fastening. Do not force an oversized insert between incompatible hubs or trim it to fit.
Refit guards and perform the approved commissioning check. Observe the permitted operating cycle rather than judging compatibility solely by the fact that the hubs can be pushed together.
6. Order an unmistakable spare
List insert series and complete size, confirmed material or hardness, quantity and the associated hub model. Distinguish an insert-only purchase from a hub-and-insert assembly.
Save the accepted replacement reference and installation instructions with the machine. If hub geometry cannot be identified reliably, resolve it before ordering instead of guessing from the visible spider outline.
7. Related products and next steps
GS, GR and XL inserts · Jaw coupling assemblies.
Send the complete model code, drawings or photographs, required quantity and application conditions to boltte@boltte.com. Confirm missing specifications in writing before ordering. Catalogue images illustrate the linked product family; they are not proof of compatibility, tested capacity or certification for your installation.
8. Further technical reading
These manufacturer references explain general engineering principles. Their product ratings, test results and installation values do not apply automatically to BOLTTE selections.